Back to the home page


Games Room

July 2006


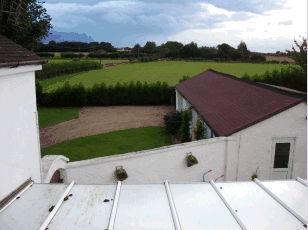
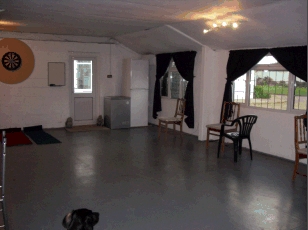
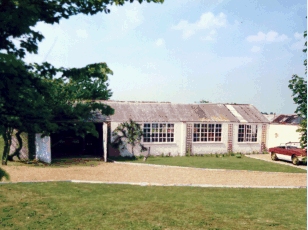
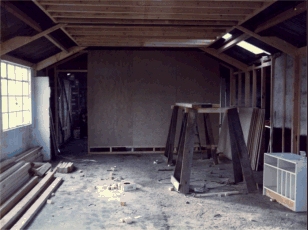
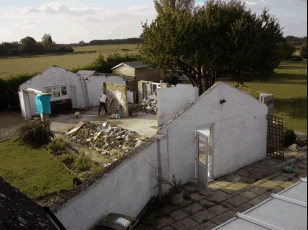
The Games Room is a large area which has obviously seen better days. This room was originally a workshop where it is locally rumoured stolen cars were cut in half then welded back together. After an official planning notice stopped the "commercial" use of this room the owners converted it into a dance studio.
August 2009

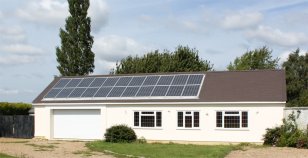
In 2009 the government announced a new feed-in-tarif which made photo voltaic solar panels much more financially viable. Basically, for a system under 4kW they will pay 36p for every unit that is generated for the next 25 years, regardless of whether we use the power ourselves or sell it back to the grid. Our current thinking is that we could potentially earn £1,200 from the government and also reduce our electricity bill by £300 per year. With the £2,100 grant the system could pay for itself in about 10 years. In August we got a quote for installing a 3.96kW system for £18,000 which would be installed on the games room roof.


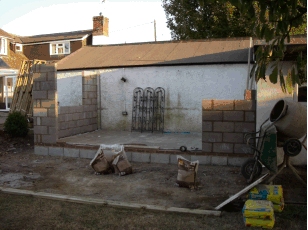
As well as the installing solar panels on the roof we also decided to start work on the games room extension to reconstruct a corner of the building that had been previously removed. After a bit of deliberation we decided not to build it to the full size of the original footings but instead make it slightly smaller to keep a better view of the garden. I discussed our needs with Jason and Michael while they were doing the porch and decided on the dimensions. I dug out the foundations and moved all the soil onto the drive ready for collection, only to later find out that there were bits of asbestos roofing in it which meant it was considered toxic waste. It was therefore moved back into the back garden to be dealt with at a later date. We only wanted the foundations and floor laid but as everything was going well we decided to have the walls built as well.

September 2009


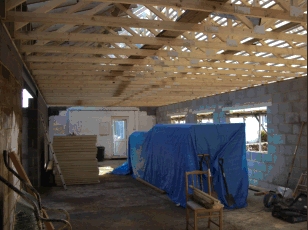
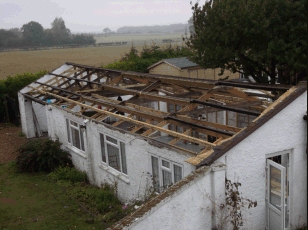
As the walls were being built we decided to have the roof built as well to finish off the shell of the room, but that is when everything went wrong. Looking at old photos of the games roof I became suspicious of the build quality of the roof and consulted with Jason. It quickly became clear that the 11 metre roof above the games room was only held up by 3 trusses and would not be able to handle the weight of a the solar panels or the additional roof for the extension. The trusses were braced together by a couple of 2' by 2' beams that supported the whole roof so there was no option other than to remove the roof and have it rebuilt but this then revealed further problems. The roof had actually been built supported on beams inside the room and therefore the weight of the roof pushed the walls out.
October 2009


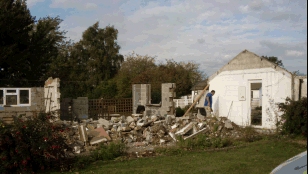
Once the roof had been removed the whole of the front wall was wobbling and the back wall was falling down. The beams that bridged the garage door were too short and were bolted together, badly. The lintal that supported the trusses at the back of the garage had obviously been cast in place between 2 planks and was filled with bits of old metal steering rods. Unfortunately they had then bolted the planks to the lintal and in doing so they had cracked it in half meaning the planks were holding the roof up as well as a broken lump of concrete. Basically the whole building was a total disaster. Even the floor was made up of a patchwork of concrete which varied in height by about 15cm so needed to be cut out and leveled.

In the end the whole of the roof was removed, half of the external walls were demolished and foundations were strengthened before any rebuilding work could commence. This seriously delayed the solar panel installation and meant that we had to dig very deep to find the money to rebuild the whole structure! The roof was originally felted but as it was such a big area this would cost over £5,000 to replace so our cheaper option was to use the solar panels to cover part of the roof and then tile the rest. My job throughout the rebuilding work was to drive Izzy around moving ballast, sand and rubble as well as lifting RSJs into position.

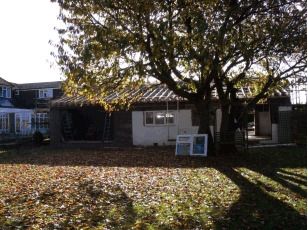
The walls and roof went up very quickly and in no time at all the rubble started to look like a building again. Sadly, the big sycamore in the front garden was felled.


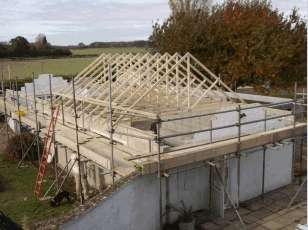
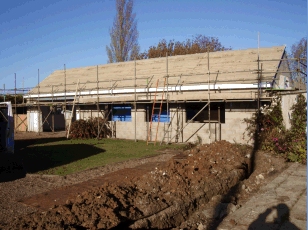
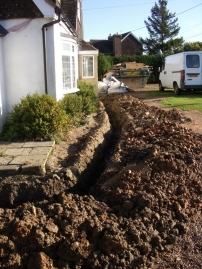
By the end of October the structure of the building was complete and Jason and Steve felted and battened the front roof ready for the solar panels. Karen and I got Izzy out and dug the trench for the armoured power cable to run from the house to the games room. This needed to be in place before the solar panels could be connected so I worked through the rain to get it finished. Unfortunately the solar panel installation was delayed again because of unusually high demand for parts in Europe. A bit annoying for Jason who worked solidly to get the roof ready in time.

We hired some tools to locate the water pipe and carefully trenched around it. Jason is going to install a new plastic pipe so we can have water to the games room and remove the old metal pipe feeding the house. I planned out the electric circuits in the games room and ordered all the required bits ready for next month.

November 2009


All the insulation turned up for the inside of the building and we got a quote for all the windows and doors, £7k. We also got a quote to replace the existing house alarm and replace it with a full function system that will cover the games room as well. Jason was a complete star (again) and dug down beside the porch so we could feed 10mm and 4mm armoured cables from the house into the games room. The new plastic water pipe was also laid in the trench and connected into the existing galvanised pipe. This means we now have a new stopcock in the hall ready for disconnecting the old pipe.

The internal stud walls were constructed and at the end of the month the solar panels were installed (but not connected) so the roof tiles could begin to be laid while Karen and I ran all the electric cables ready for all the sockets, lights and switches.

December 2009


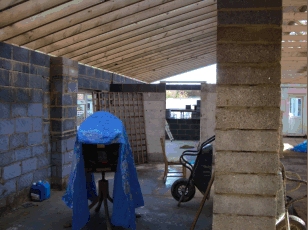
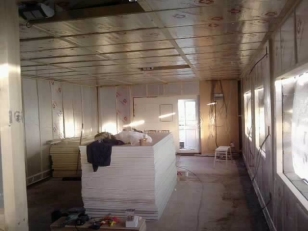
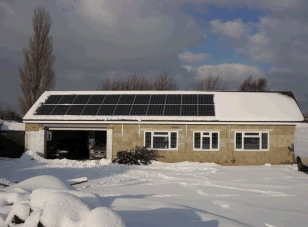
The games room really took shape in December, the roof was completed and the internal walls were lined with ply and plasterboard (140 sheets, which took me four trips to Strood to collect). All the celotex insulation was put in the walls and ceiling and the windows and doors were installed. The garage door was put back which I wired up along with some sockets and temporary lights. A scratch coat was put on the gables before the scaffolding was taken away to make the walls waterproof and the solar panels were finally connected and started producing electricity. It was the solar panels that triggered this whole rebuild so it was a major milestone!

January 2010


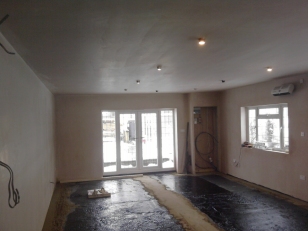
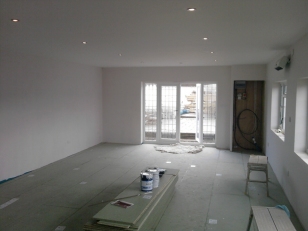
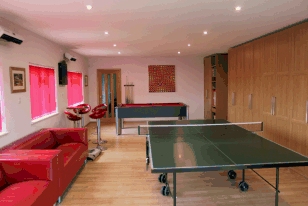
Our month started with the main room being plastered, fantastic! That's when things really start to look finished. The whole floor area was so uneven that it had to be levelled by covering in a layer of concrete up to 10cm in some areas. The floor was then covered in a layer of 50mm celotex, then a damp proof membrane and then moisture resistant 18mm chipboard flooring. Jason also put in and connnected the water pipes for the shower and outside tap while Steve carried on boarding and plastering the back rooms and garage. This was a slow job because he had to plaster between all the exposed beams. The doors to the back of the garage were replaced by a low threshold door so the bike and mowers can be moved in and out. 

After that was all done we spent a weekend painting the ceiling and the walls and I wired up the lights, heaters and a few power sockets in the main room so we could work in relative warmth, although the open doorway into the garage does make it cold. One Saturday we went to that place I swore I would never go to ever again, Ikea! Unfortunately Karen had discovered that they had the perfect size of oak effect wardrobe. Loaded up with all the cupboards we were unable to fit the 2 sofas in the van so had to make a second trip one evening after work. I spent two weekends fitting the underlay and laminate flooring before we could then begin to build the cupboards. I also put up the dart board that the boys generously bought us for Christmas. Karen was the first person to hit the bullseye!

February 2010

Most of the work was being done in the garage and back rooms, so I wired up the rest of the ring main, lighting circuits and heaters. I also ran the alarm cabling from the house to the games room and then put in the cables throughout the building ready for the alarm company to connect to the alarm system.

March 2010

There was a lot of decorating done this month but mainly in the garage.
I fitted the skirting in the games roo while Karen began waxing the doors and frames.

April 2010

May 2010

Steve and co. removed all the old render from the games room and re-rendered the building.

June 2010

The rendering was a very big job and it took Steve ages to do it but unfortunately he left in a bit of a hurry at the end of the job and didn't do the best job of repairing some patches at the front of the building that had blown. At the end of June I painted the new render around the electric cables sticking out at the back of the games room, then fitted the lights and sockets.

July 2010

I finally fitted the outside tap and painted the back of the games room. It should look really nice when the whole building is completed.

August 2010


One year on and the games room finally nears completion. While Karen was off work she did the time consuming job of painting all the edges around the windows and under the eves. At the end of the month the weather gave us a mainly dry weekend allowing us to complete all the painting.

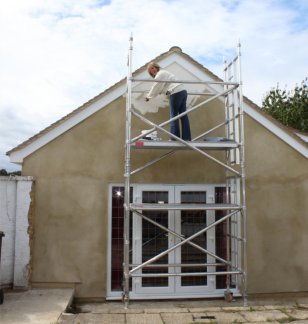
Karen spent the weekend at the top of the tower painting the gable ends while I repaired the rough bits left by Steve, scrubbed the walls of loose sand and then went over the lower sections with a roller. A lot of hard work and 30 litres of Weathershield but it looks great now that it is done. Only the outside lights and guttering left!


September 2010

I put up the outside lights which look really nice, although they wouldn't work as there was only 25v reaching the fittings. I traced the problem back to a loose neutral in the switch. Unfortunately the gamesroom is now acting as a store room again while I work on the lounge.

July 2012


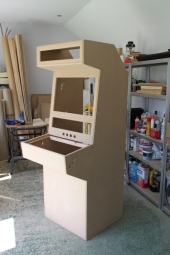
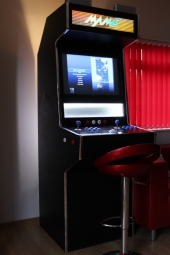
After two years of moving around heavy 8x4 foot sheets of 18mm MDF (with Karen's unwilling help) I finally got around to designing and building the latest addition to the games room, my arcade machine. I started off with a plan in my mind about how I was going to make it but this soon changed after I decided to use a different screen. I then had to decide what to do with the extra space in the front so I purchased some LED lighting strip, oneway window film and some mirror perspex to make an infinity mirror. I borrowed a router to make a groove all around the edge to hold the silver T strip and also to make a bevelled edge for the screen surround. Once it was all built I then painted the bare MDF with some hammerite paint and a little roller before fitting the perspex. A cheap florescent light, a printout of a marquee sandwiched between a couple of perspex sheets completed the top. I decided not to try and cut the holes in the control panel as it was really important to get that right so I paid a company to laser cut some black perspex for the trackball, buttons and joysticks. To use the last of the mirror perspex and the LED strip I made a beryllium sphere optical illusion in the side with a little peep hole. So there you have it, a home made arcade machine.
September 2013

Karen had the crappy task of filling the huge cracks that appeared in the render at the end of the games room. Unfortunately, where we left part of the old building in place this has meant that the new construction is staying still but the old corner is still moving, opening up 10mm+ cracks in the render. These have to be filled before rain gets in and causes more damage.