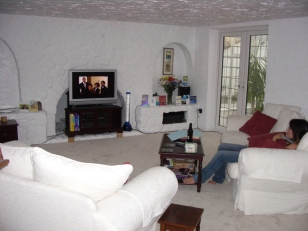
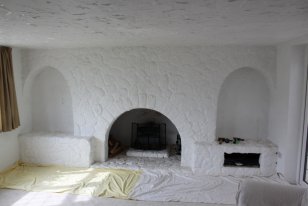
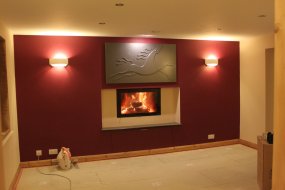
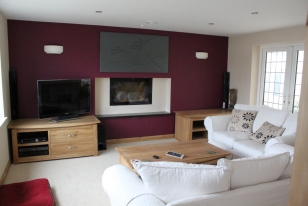
Lounge
July 2006
September 2010
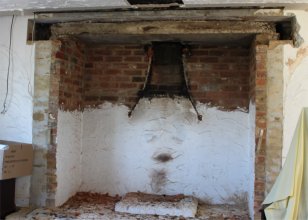
CPM came back and had a look and have now arranged to come back at the end of the month and remove the internals of the chimney and the slab, so this means we've had to empty the room and set up a temporary lounge in the dining area. While we were doing this it made sense to rip out everything and do the whole room, so while Karen was in Germany for the week I got down to some late evenings.
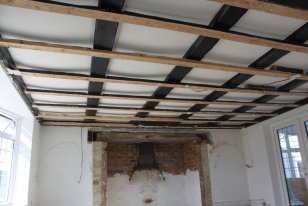
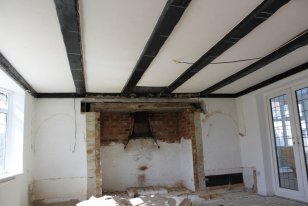
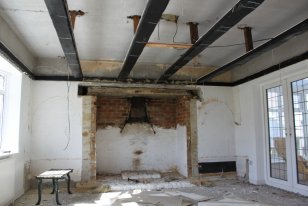
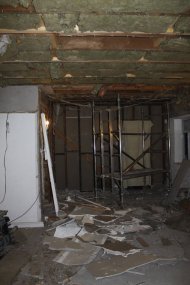
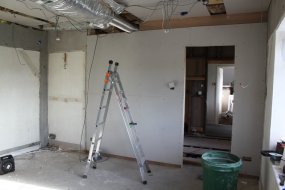
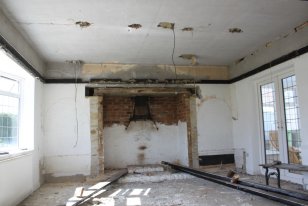 | I started by removing the carpets which revealed a wooden "stage" which was part of the original building before the lounge was added in 1969. This area will eventually become the music room. Once the room was empty I started to remove the ceilings, well the first two ceilings anyway. This wasn't actually too difficult as the first ceiling was easy to pull down and the wood was screwed into the second ceiling. The second ceiling wasn't too difficult either because the plaster board was laid in top of the fake beams and just stuck in place. The supporting perimeter beams had been packed out using the Times newspaper dated February 1988 which is when I guess the ceiling was put up. With the ceiling(s) now removed the room feels huge. |
October 2010
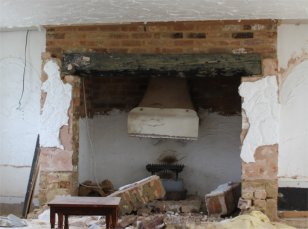
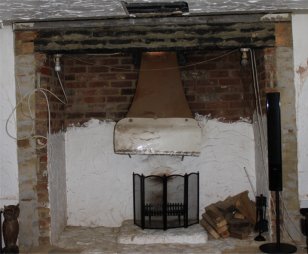
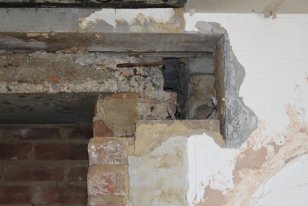
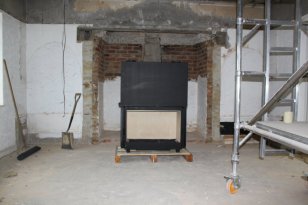
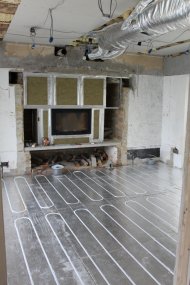
CPM came and fitted the stove while we prepared the rest of the room. They had to remove the brick lining of the fireplace to allow more room for the stove and put in lintals to support the stove and allow for a log store underneath.
We pulled down the useless insulation that had been put there by the equally useless plumber when the extension was built, then re-insulated the floor of our bedroom to hopefully help the underfloor heating to work properly. I built a stud wall to create a music room while Karen prepared the ceiling and walls by removing hundreds of nails. I also started to tidy the electrics.. oh my god, what an unbelievable mess! OK, nobody is to blame for this as it is a result of years of extensions and alterations made to the house, but there were cables leading back and forth between the rafters with lots of connectors along the way, but ultimately leading to nowhere.
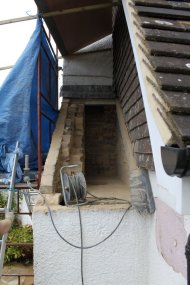
CPM finished the installing the stove and building the hotbox in the chimney to capture the heat and the stove was fired up. We installed the first hot air pump and all the ducting to move the heat to the other rooms in the house. We put vents into our bedroom, Luke's bedroom, the landing (the dog loves this) and in the ceiling of the dining room. This was a major job running and insulating the ducts through the eaves, but it works really well. However we are concerned that the pumps are too powerful as the vent into the lounge stops emitting hot air but instead starts to suck air back into the chamber. That is with just one of the pumps running, we have yet to connect the second pump. I wonder if another air inlet needs to be installed but we are waiting for CPM to return and finish the last bits so we will see what they suggest.
At the end of the month I took the half term week off work and we set about getting as much done as possible. We finished the insulation of the floor above and put up plasterboard to hold it in place. All the electrics and cables were put in place including the wires down the cavity wall for the outside lights. All the old wiring was finally removed and we scraped off the last of the plaster icing.
We eventually turned off the oil boiler and removed radiators, now relying entirely on underfloor heating in the bedrooms and the fire for heating the dining room.
Laid the grooved celotex and underfloor heating pipe but did not connect it to the airsource unit because we have to get through the buildings brick wall foundations. The new floating floor was then laid on top of that and finally gives the feeling that we are finally getting the room back.
Ordered a granite hearth, replacement windows and new oak furniture which should all be ready in November.
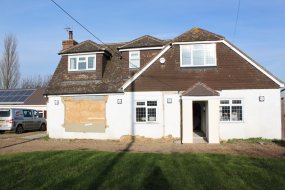
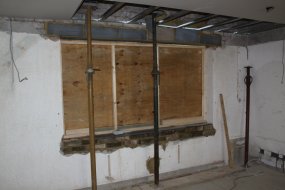
We discovered that the lintel above the window in the lounge is badly cracked and cannot support the weight of the bedroom so we have to get that replaced before the room can be plastered.
November 2010
There was a huge amount of work done in November.
December 2010January 2014
We noticed that there is a brown stain on the ceiling which we believe is caused by the bad storms we have had this month, pushing rain up under the bedroom window above which then runs down the celotex. I hope to find that the builders did not seal under our bedroom window so the problem is easily fixed. Unfortunately Karen also noticed that the wood store under the fireplace is very wet and part of the heat box insulation is sodden. No idea how that amount of water is getting in but is a big concern that needs to be investigated and fixed very soon.

