Store Room
July 2006
November 2009
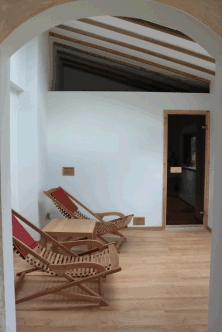
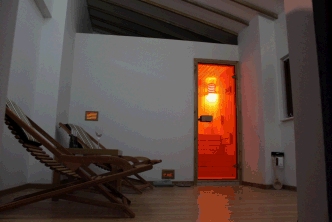
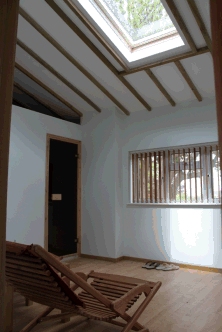
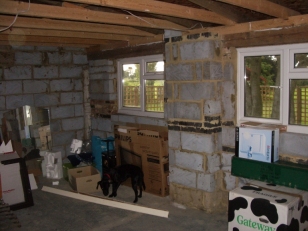
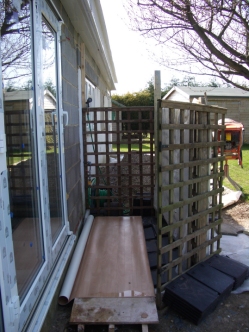
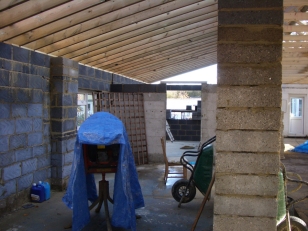 | Well, three years on and we are forced into action after the games room collapsed from old age and bad workmanship. Still it had managed to stay up for more than 40 years so I guess it had done well. But the old worn out games room makes way for a new building, including the long awaited sauna room. When the building was rebuilt we made some slight changes to the inside and designed the back room ready to hold a large sauna which can be bought in a simple kit. Over the following months the room was plastered and we painted and fitted the flooring. |
March 2010
After looking at the options we decided that to make the best use of the space it would be better if I build a sauna from scratch rather than buy a pre-fabricated kit. The sauna shop were very helpful and calculated the required materials based on the dimensions. Two huge pallets of wood later and I was ready to start the build. It is actually much easier than you'd imagine. I had already put in place the chunky electricity cable which would run it.
The first job is to build the frame using standard timber from B&Q. 2x2 battens were screwed to the wall at the right distance to fit the insulation, then a standard stud wall front and ceiling built from 3x2. This was done at the very end of March and you can see in the photos where I re-inforced the outer wall where the stoce is to be hung. After the framework is put in place and before the internals are fitted lay a sheet of lino floor covering just to protect the floor and provide a waterproof the floor. We used the cheapest wood effect lino from B&Q.
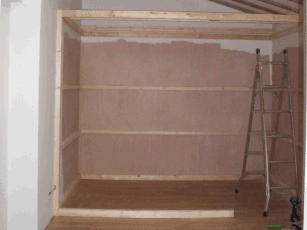
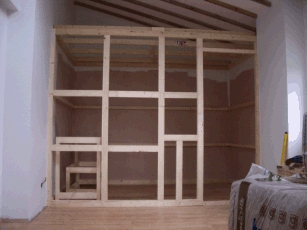
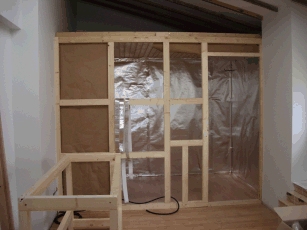
April 2010
The insulating rockwool sheets are put between the battens on the wall then the whole area is lined with an aluminium moisture barrier and taped to seal all the joins. This is a bit of a tricky job that needs two people. Remember to feed the cables into the corners for the lights. Then the spruce panelling is cut to size and tacked into place, about 2000 tacks are used for this! This is the right time to double check your measurements and then cut out the vents, one under the stove for fresh air in and one for stale air out.
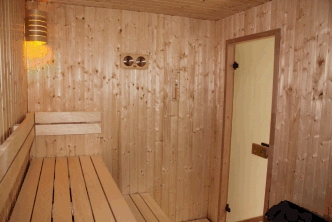
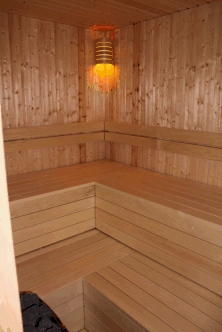
I finally got around to ordering a final few lengths of aspen and finishing off the internals of the sauna as well as the room outside. We painted the walls, fixed the skirting and put up blinds. Although this was my first attempt at building a sauna (and probably last) we're really pleased with the final result. All we need now is a small set of drawers, some artwork on the wall, and more free time!
